
Scoping to a clinic
What is clinic scoping?
Scoping to a clinic is simply another way to say navigating or connecting to a clinic you are a part of on Embodia.
When you scope to a clinic, Embodia filters your patient list, shared resources, and colleague-contributed content to show only what belongs to that clinic.
This guide explains what changes when you are — and aren't — scoped to a clinic, how to scope to one, and how to set a default so the right clinic is displayed automatically at login.
What changes when you scope to a clinic
Understanding the difference between scoped and unscoped states helps you work more efficiently, particularly in multi-clinic or collaborative practice settings.
When you are not scoped to a clinic
- Your My Patients tab displays every patient across all clinics — regardless of which clinic they were originally added to.
- You cannot view exercise programs your colleagues have prescribed to shared patients within a clinic.
- Clinic-restricted resources — exercises, education materials, and other content uploaded by colleagues and set to clinic-only access — will not appear in your search results.
When you are scoped to a clinic
- Your My Patients tab shows only the patients linked to the clinic you are currently scoped to.
- You can view programs prescribed by colleagues to any patient you share within that clinic.
- Clinic-restricted resources uploaded by your colleagues become visible and searchable.
How to scope to a clinic
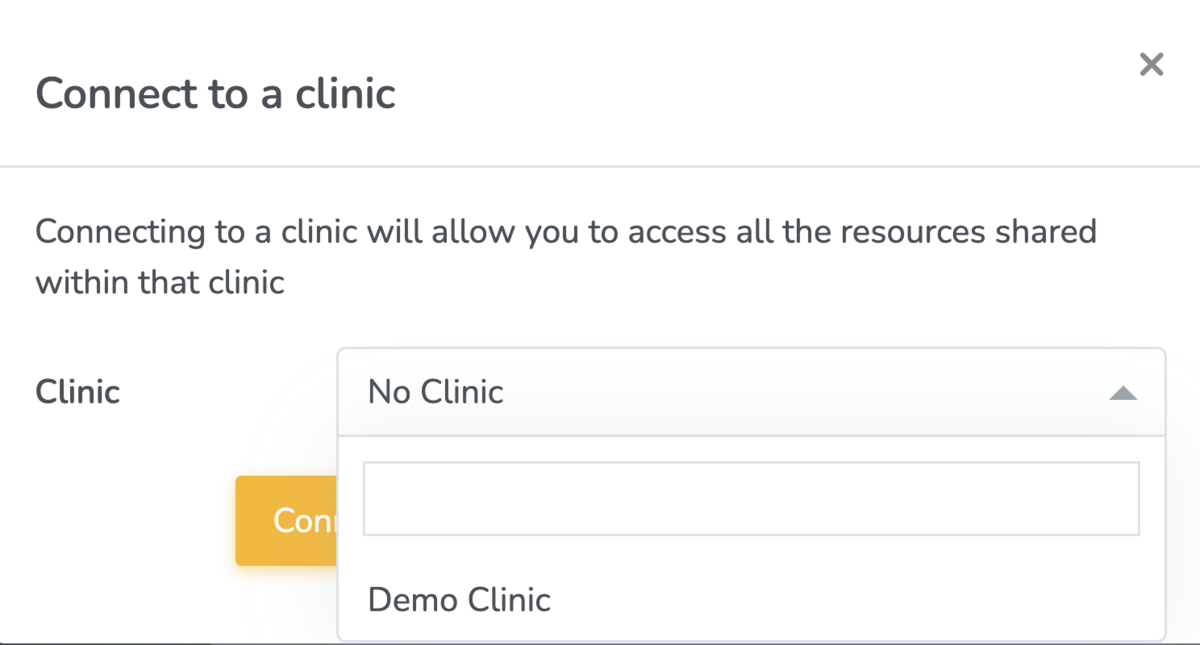
- Click the Clinic Scoping icon in the top navigation bar.

- Select the clinic you want to scope to from the dropdown list. Select 'No Clinic' to disconnect from all clinics and use your individual account or membership if you have one.
Setting a default clinic
If you work predominantly within one clinic, setting it as your default means Embodia will scope to it automatically each time you log in — removing the need to manually select it each session.
To set a default clinic:
- Navigate to Settings > My account > My settings.
- Under Default Clinic, select your preferred clinic from the list.

- Scroll to the bottom and click 'Update my settings'
From your next login onwards, Embodia will open in that clinic's context.